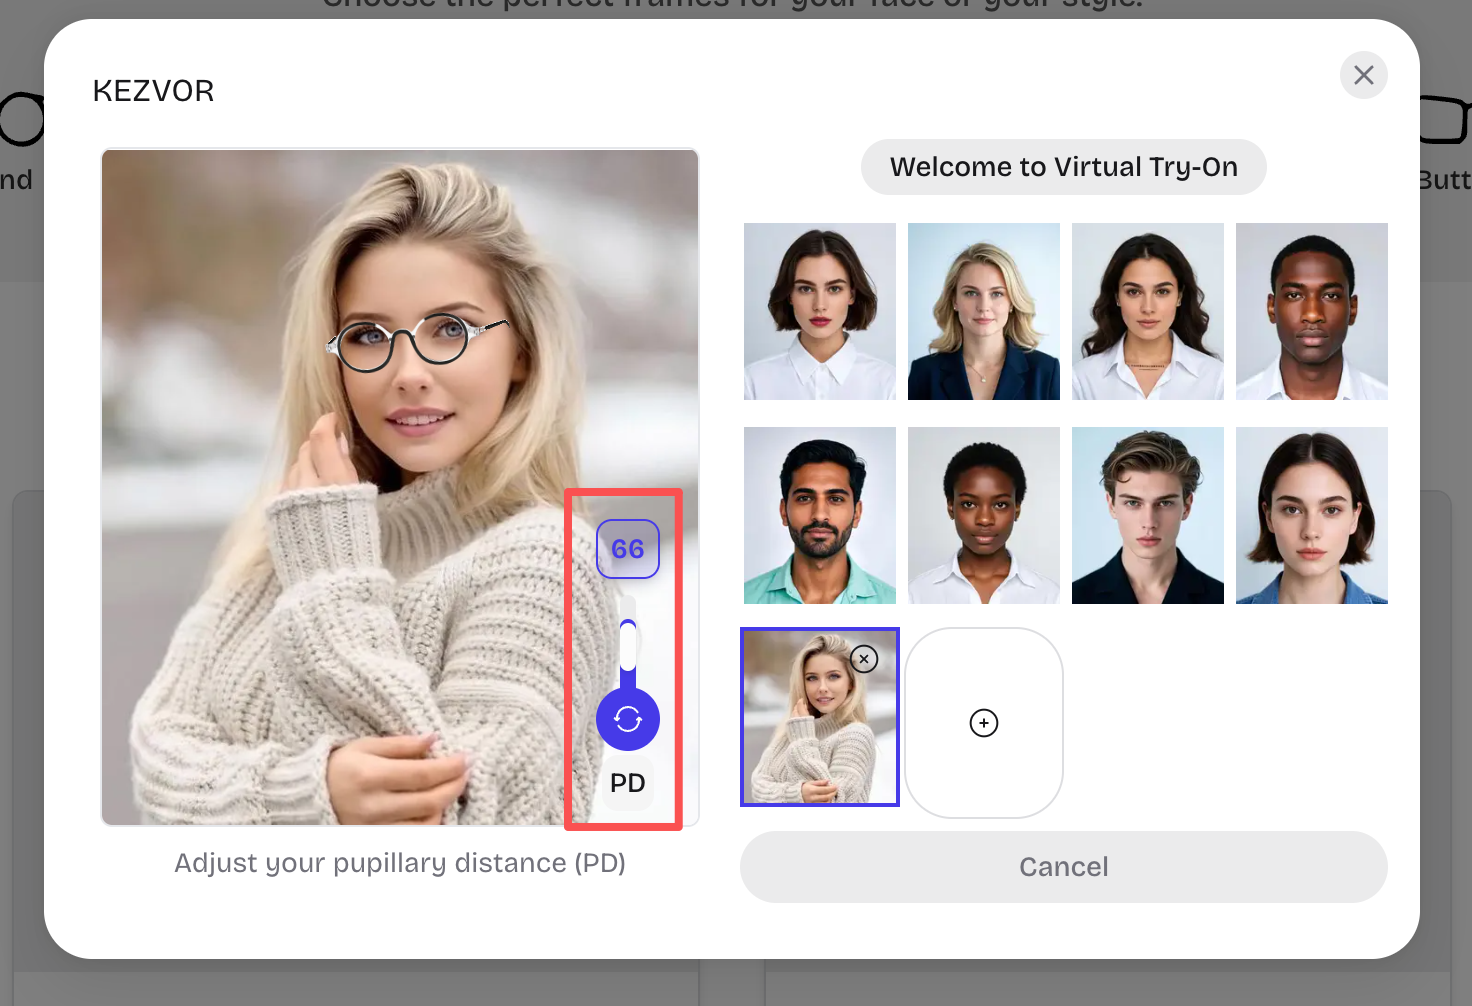
1
Find the “Try on” entry
On the product page, locate the “Try on” button on the product gallery image and tap to start.
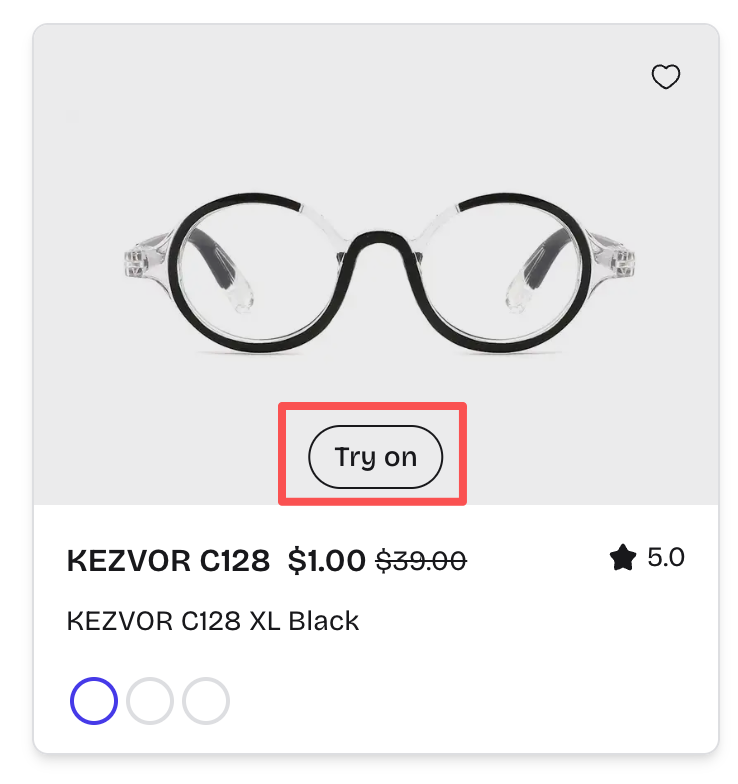
Preview fit and style with our natural try-on before you place an order.
On the product page, locate the “Try on” button on the product gallery image and tap to start.
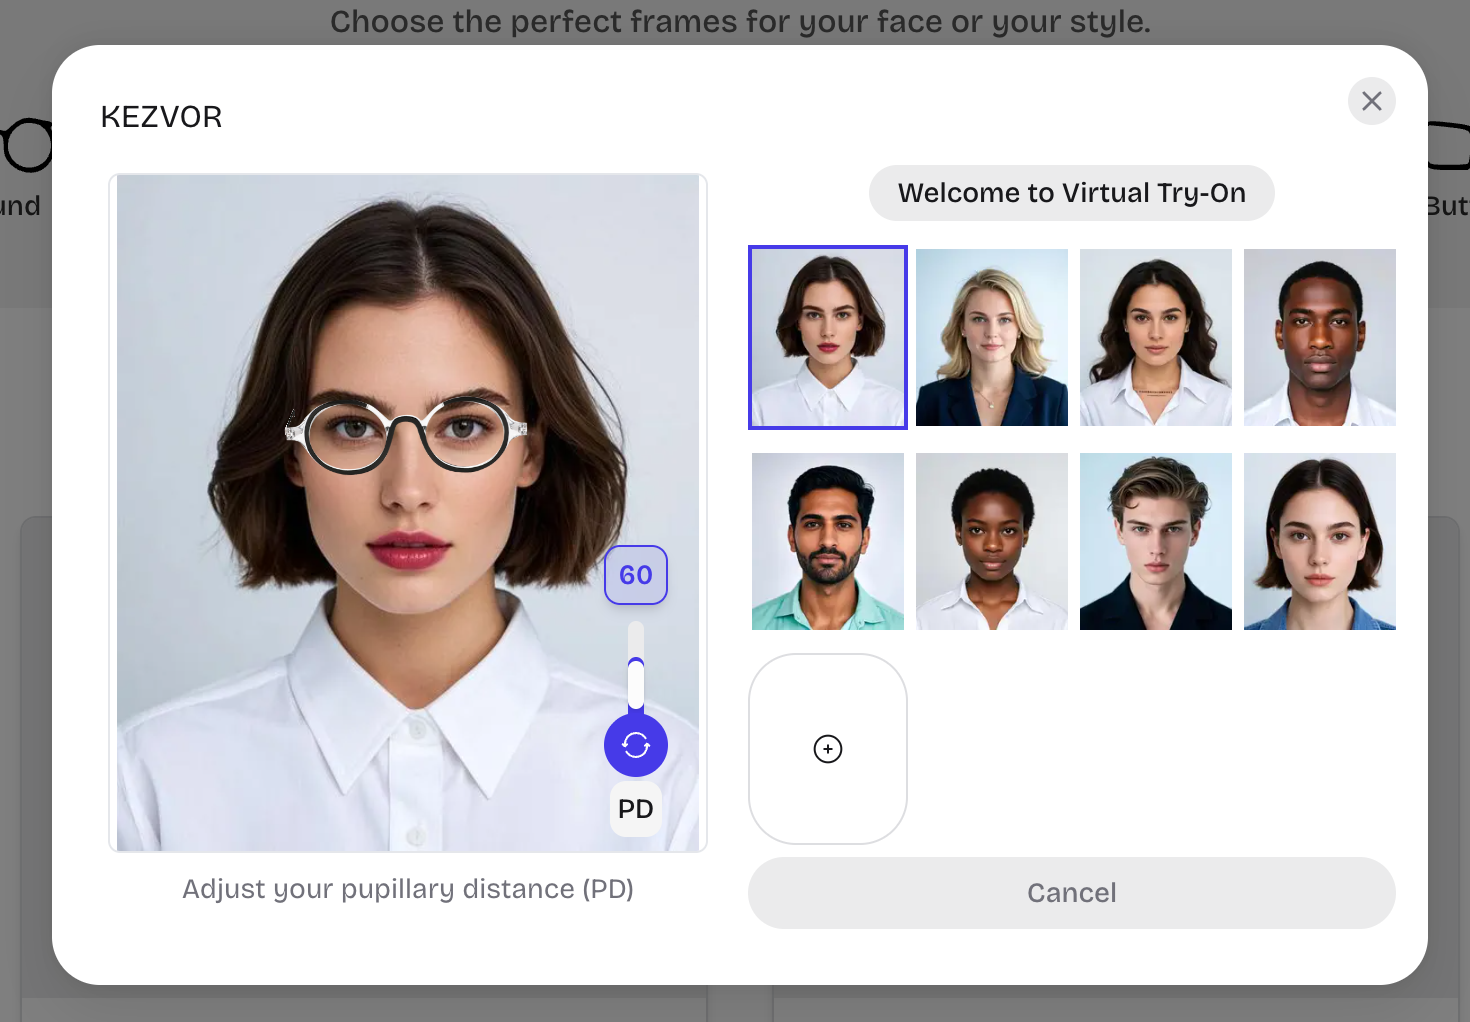
In the virtual try-on modal, choose a built-in model to preview the current frame. Use the PD (pupillary distance) slider to fine-tune alignment and fit.
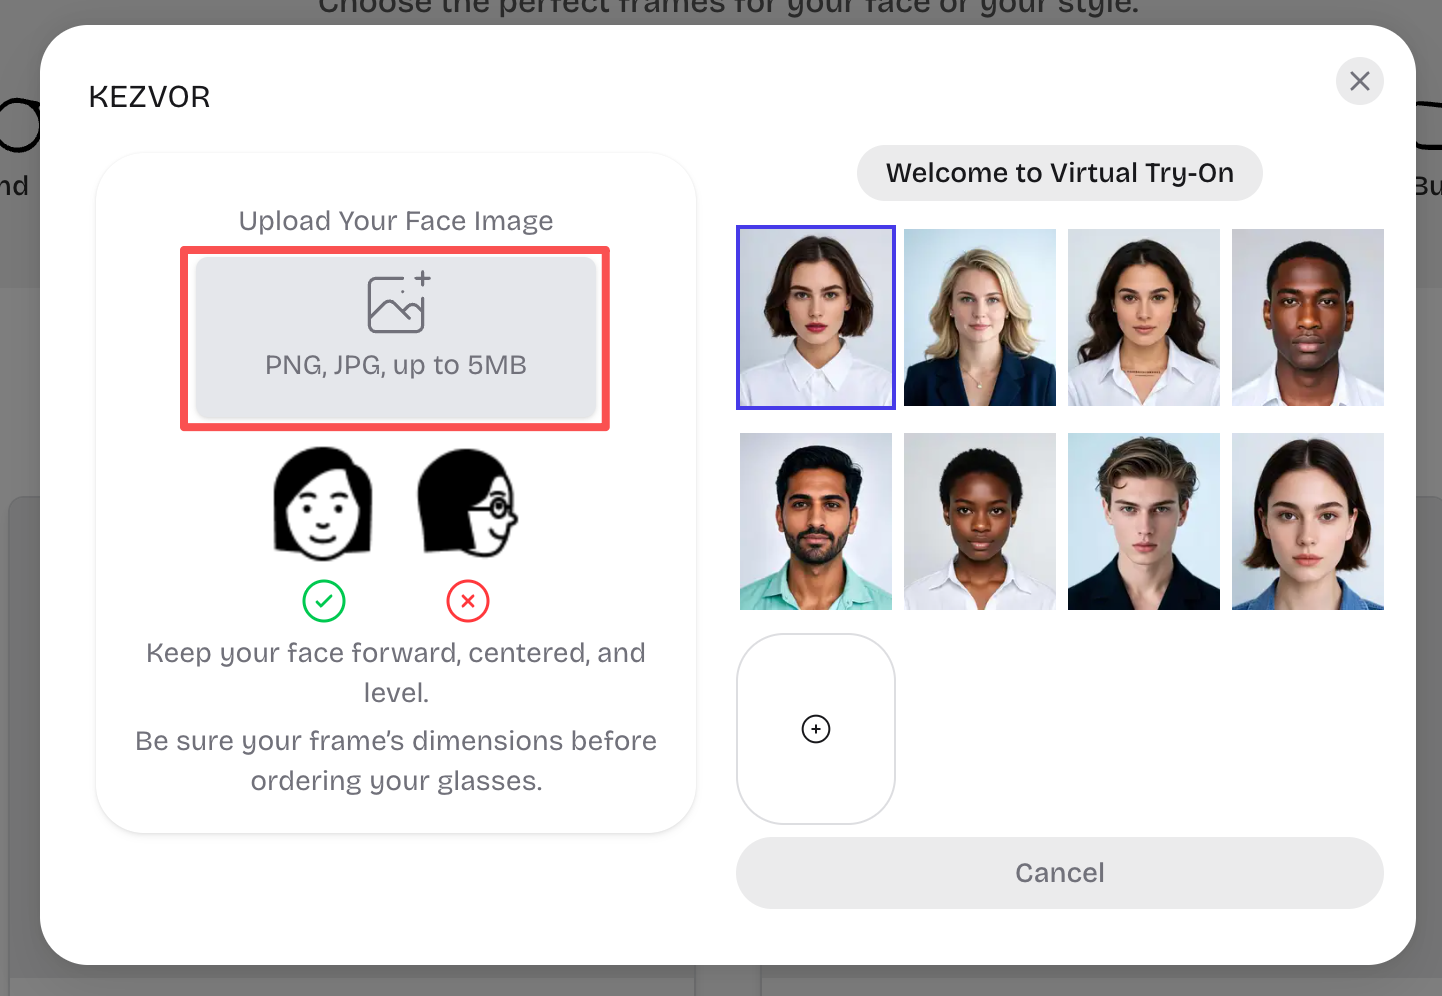
Want a more personalized preview? Tap the “+” tile to upload your own face photo.
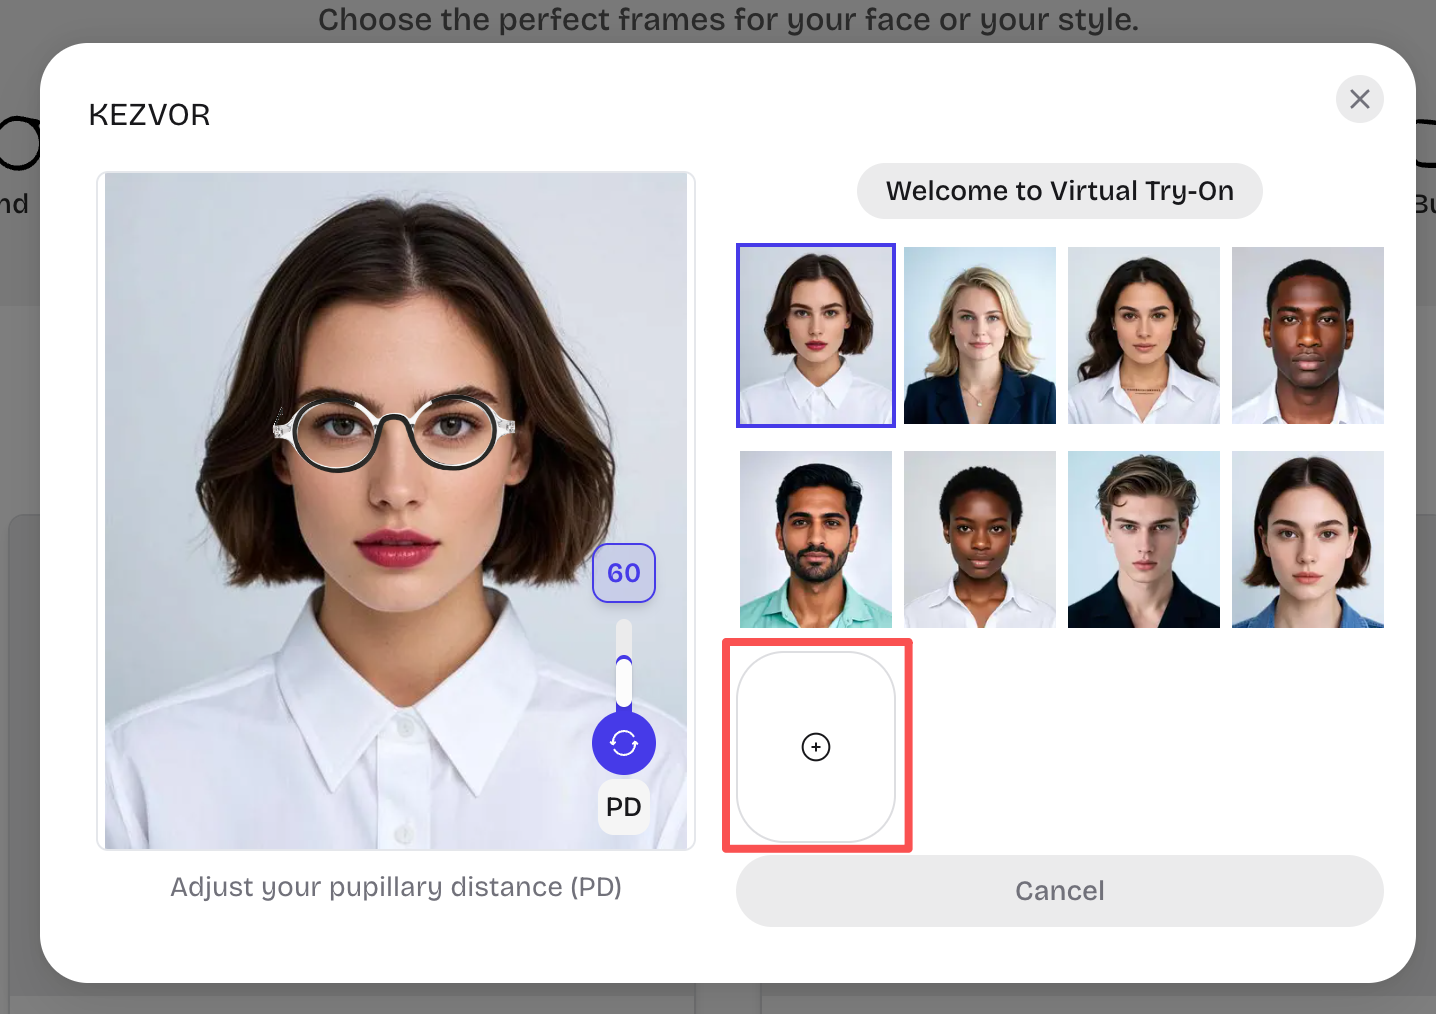
Upload a clear, front-facing photo (JPG/PNG, up to 5MB). After uploading, you’ll move to the crop step.
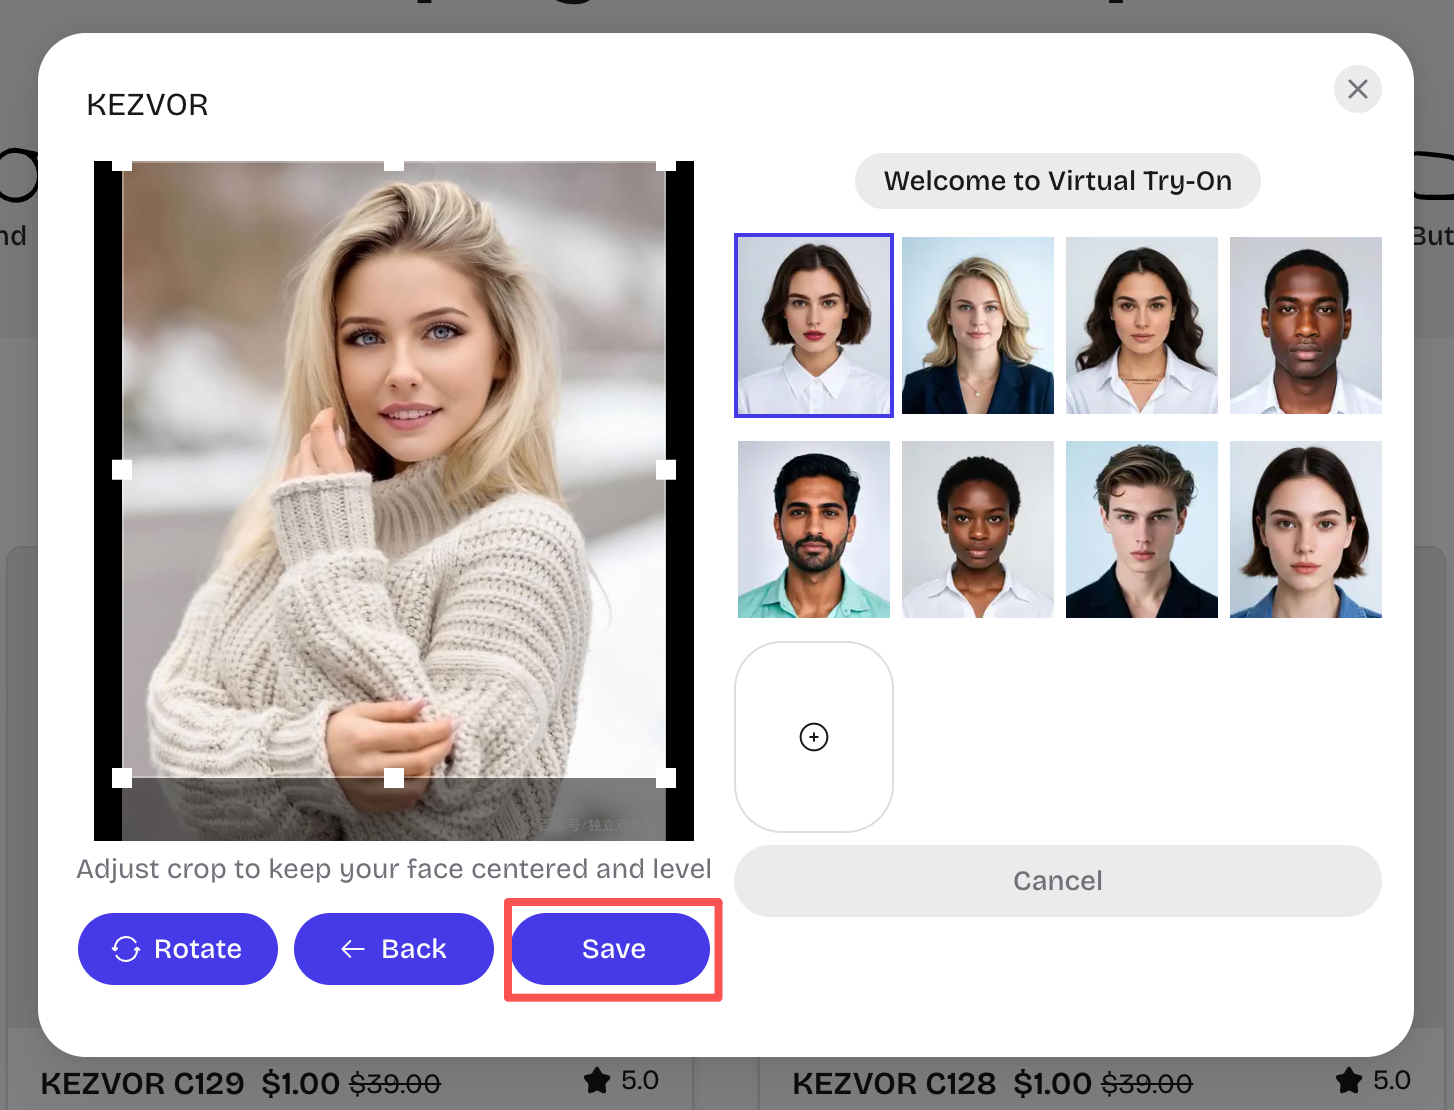
In the cropper, frame your head/face area, keep it centered and level, then tap “Save”.
Once your photo is ready, you’ll see the try-on result on your face. Adjust PD again to match your real measurement for the most accurate preview.